Blog

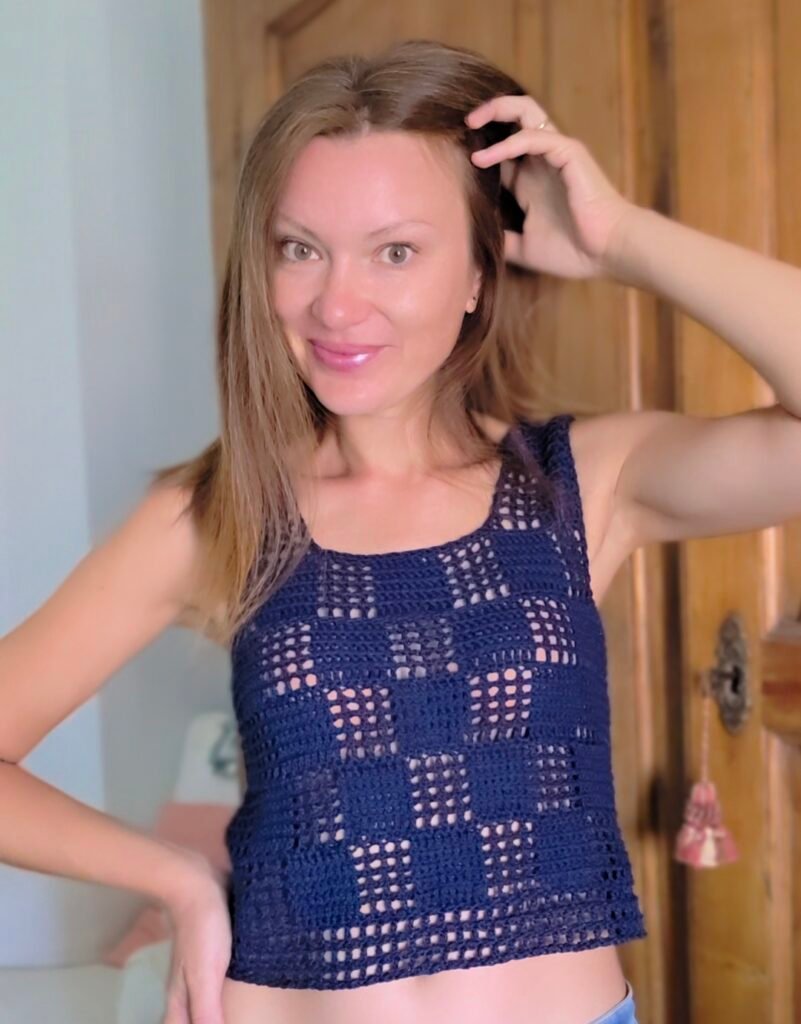
Blue Chess Top
Welcome to the guide for the Blue Chess Top, a fresh and lightweight crochet project made with my own chess stitch technique. This stitch is inspired by Tunisian crochet and allows you to work several rows at the same time. It’s easy, fun, and perfect if you enjoy slow living, handmade fashion, and the joy of wearing something truly unique.
This top is simple to make, suitable for those with some manuality in handling multiple stitches at once, or for anyone familiar with Tunisian crochet techniques. The result will be a piece that is completely yours — special, original, and perfect for everyday wear or as a thoughtful handmade gift for a friend, mother, daughter, or niece.
With the chess stitch, you can create not only tops, but also many other beautiful items for your home, wardrobe, or accessories. Just pick your favorite yarn, choose the color that inspires you most, and start crocheting.
Yarn & Hook
Yarn suggestion: DK weight cotton yarn (I used a cotton blend with a small percentage of elastane).
Hook size: 3.5–4 mm crochet hook.
Before starting, I recommend making a swatch to calculate how many starting chains you’ll need for your size.
In this guide, you’ll find the pattern for the Blue Chess Top in size M.
Blue Chess Top
Size: M
Length: 44 cm
Width: 40 cm
Stitch Abbreviations (US Terminology)
ch – chain
sl st – slip stitch
hdc – half double crochet
dc – double crochet
5R dc st (8t) – 5 rows of double crochet stitches worked simultaneously, repeated 8 times
5R mesh st (4t) – 5 rows of mesh stitches worked simultaneously, repeated 4 times
3R dc st (6t) – 3 rows of double crochet stitches worked simultaneously, repeated 6 times
3R mesh st (3t) – 3 rows of mesh stitches worked simultaneously, repeated 3 times
Pattern – Front Panel
Starting chains: Multiple of 16 + 10.
For my top, I started with 75 chains. Adjust to your size.
Row 1: ch14, 5R dc st (8t) – 5R mesh st (4t), repeat across, end with 5R dc st (8t).
Row 2: ch1, sl st – hdc, repeat, end with sl st.
Row 3: ch16, 5R mesh st (4t) – 5R dc st (8t), repeat, end with 5R mesh st (4t).
Row 4: ch1, sl st – hdc, repeat, end with sl st.
Row 5: ch14, 5R dc st (8t), repeat across, end with 5R dc st (8t).
Row 6: repeat Row 2.
Row 7: repeat Row 3.
Row 8: repeat Row 4, cut yarn.
If you are happy with the length, continue to the neckline shaping.
Shaping neckline (the top part of the top before making the straps)
Turn your work to the front side of the panel. Count 8 stitches from the beginning of the row, place a stitch marker in the 9th stitch. Repeat the same on the opposite side.
Attach yarn at the right marker and continue:
Row 9: ch2, skip 1 st, dc in next st, close together for a soft edge. ch13, 5R mesh st (3t) – 5R dc st (8t), repeat, end with 5R mesh st (3t). At the last st, close 2 sts together: yarn over, skip 1 st, dc in stitch with marker, close 3 loops, then continue 2 by 2.
Row 10: repeat Row 4.
Neckline complete. Now continue with the straps.
Straps
Right strap
Row 11: ch14, 5R dc st (6t) – 5R mesh st (3t). Before closing last stitch, follow Row 10 ending.
Row 12: repeat Row 2.
Row 13: ch16, 5R mesh st (3t) – 5R dc st (6t).
Row 14: repeat Row 4.
Row 15: ch8, 3R dc st (6t) – 3R mesh st (3t).
Left strap:
From the outer edge, count 14 sts inwards, place marker in the 15th st.
Row 11: from marker, ch2, skip 1 st, dc in next st, close together. ch13, 5R mesh st (3t) – 5R dc st (6t).
Row 12: repeat Row 2.
Row 13: ch14, 5R dc st (6t) – 5R mesh st (3t).
Row 14: repeat Row 4.
Row 15: ch10, 3R mesh st (3t) – 3R dc st (6t).
Now the front panel is finished.


Back Panel
Start with the same number of chains as the front (75 for M).
The only difference: begin with mesh stitches, so the chess stitch alternates correctly when joining front and back.
Row 1: ch16, 5R mesh st (4t) – 5R dc st (8t), end with 5R mesh st (4t).
Row 2: ch1, sl st – hdc, repeat, end with sl st.
Row 3: ch14, 5R dc st (8t) – 4R mesh st (4t), end with 5R dc st (8t).
Row 4: ch1, sl st – hdc, repeat, end with sl st.
Row 5: ch16, 5R mesh st (4t) – 5R dc st (8t), end with 5R mesh st (4t).
Continue following the same rows as the front panel, just alternating the stitch order.
If you prefer more coverage on the back, make the straps shorter or add 1–2 extra rows


Assembly and finishing
Sew the shoulders and sides.
Finish the neckline and armholes: work 1 sl st -1 hdc . Round worked on the wrong side of the top.
For the bottom edge:
Round 1 (wrong side of the top): 1 sl st – 1 hdc.
Round 2 (turn to the front of the top): 4 chain stitches, skip 1 stitch,* 1 double crochet(dc) – 1 chain stitch(sc)*, skip 1 stitch, repeat.
Repeat these 2 rounds 3 times in total.
Finish with Round 1.
If you prefer a shorter top, you can finish with just Round 1.
And your Blue Checkered Top is ready!
Creating your own handmade clothes is about more than fashion — it’s about slowing down, connecting with your creativity, and celebrating the joy of making. Don’t worry if your first attempt isn’t perfect. Even experienced makers sometimes create pieces with small imperfections — that’s what makes them unique.


So grab your favorite yarn, sit in your cozy corner with a cup of tea and your hook, and let the magic of crochet bring your Blue Chess Top to life.

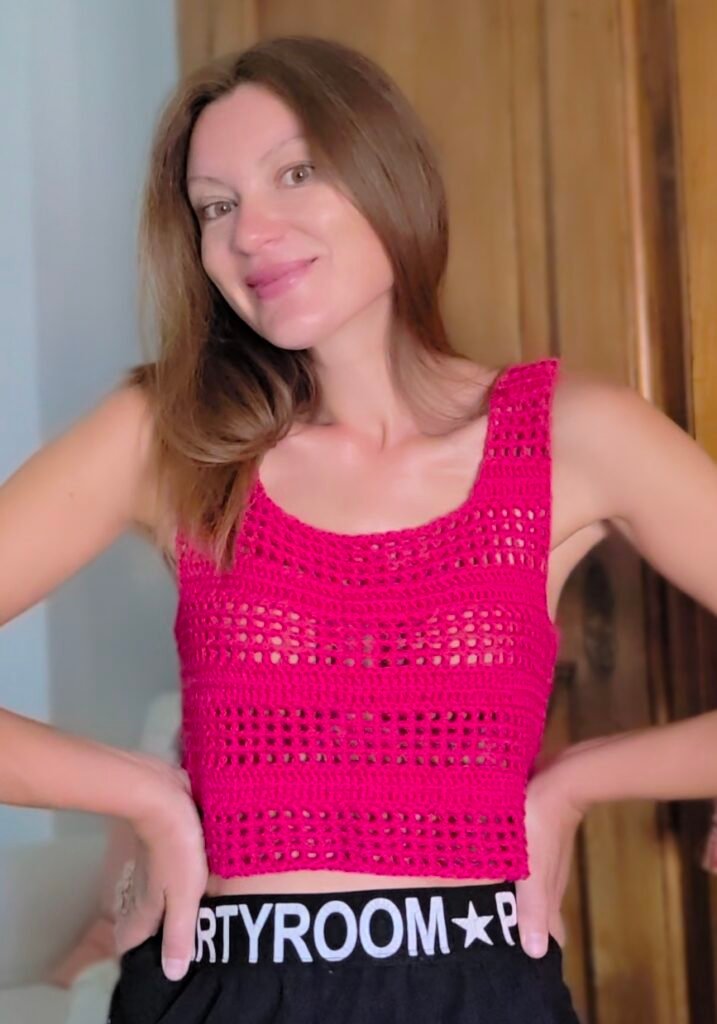
If you enjoyed making the Blue Chess Top and would love to try a similar technique, check out the Scarlet Stripes Top guide below.