Easy Step-by-Step Guide with Tunisian-Inspired Stitch
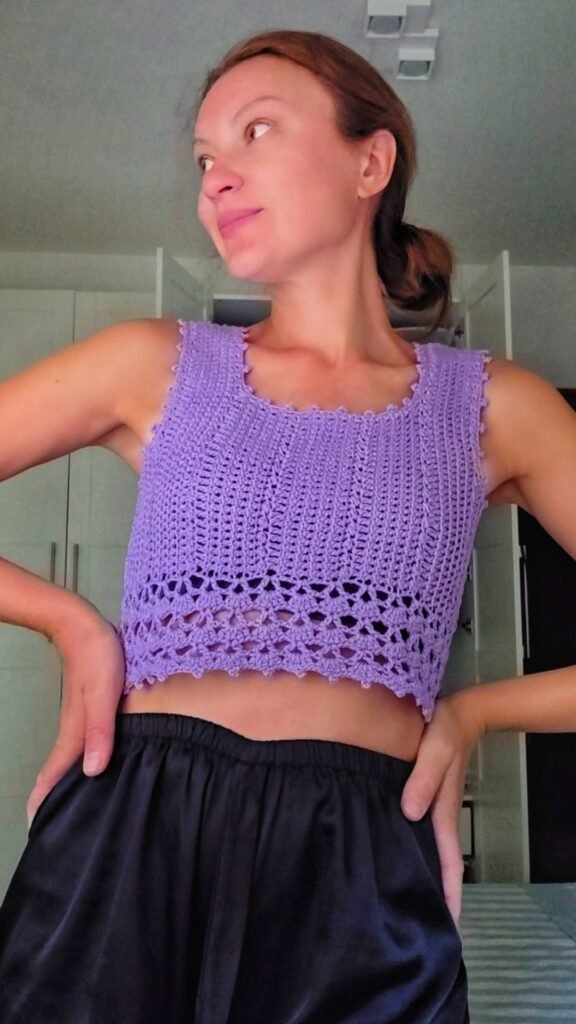
You’re leaving for vacation in a week and just realized you’re short on beachwear. Everything in stores doesn’t feel right—you want something special. Then you remember that in a corner of your home, you have a crochet hook and two skeins of cotton yarn… and voilà! You’ve got all you need to make a unique summer top—perfect for your getaway. If you don’t have other commitments, you can make it in one day!
With a method inspired by Tunisian crochet, you can finish this top quickly. Grab a basic crochet hook without a handle and start now!
Materials & Yarn Recommendations
The top was made with cotton yarn containing a small amount of elastane. I always try to use natural fibers and recommend you do the same: the garment lasts longer and looks much higher quality.
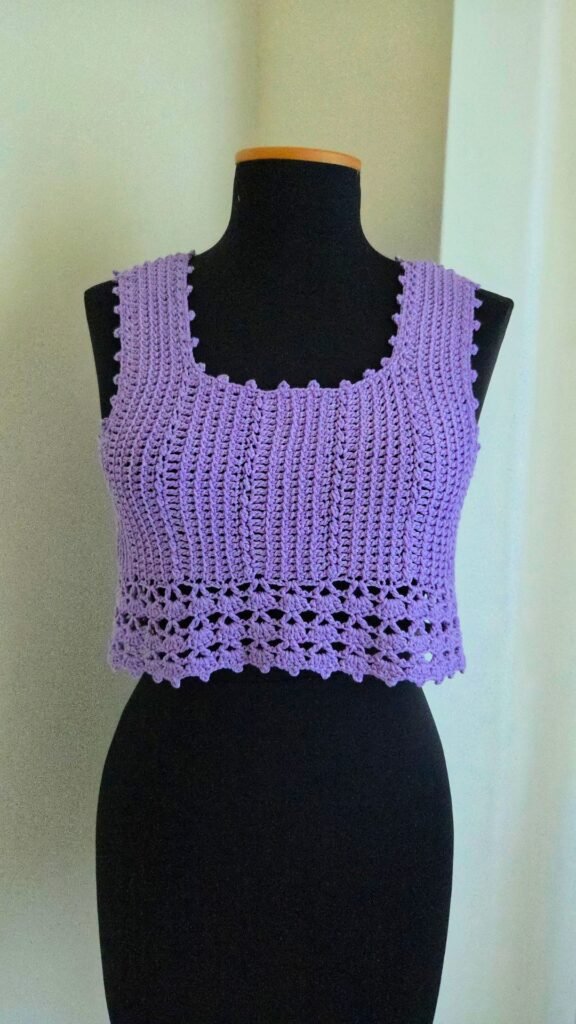
Structure of the top
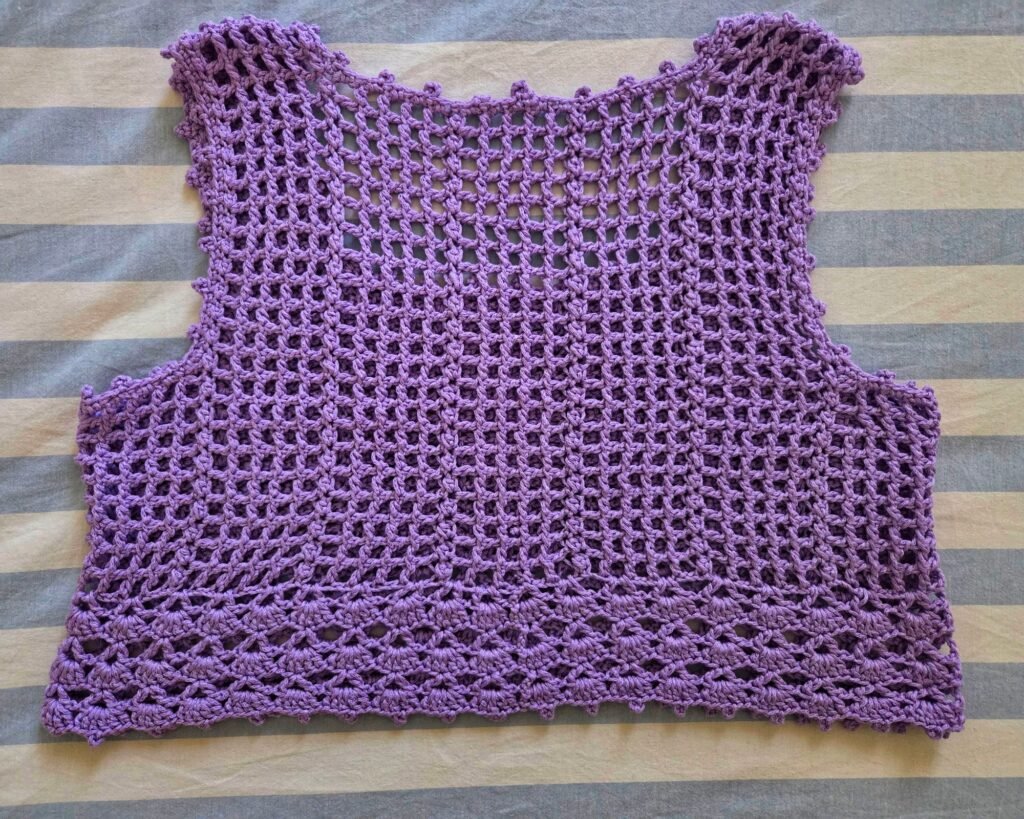
We start by making the pannello posteriore using an openwork stitch. We’ll work 5R mesh stitch, with a return row on the wrong side like this: ch1*sl st - hdc* - sl st Repeat for the entire back panel.
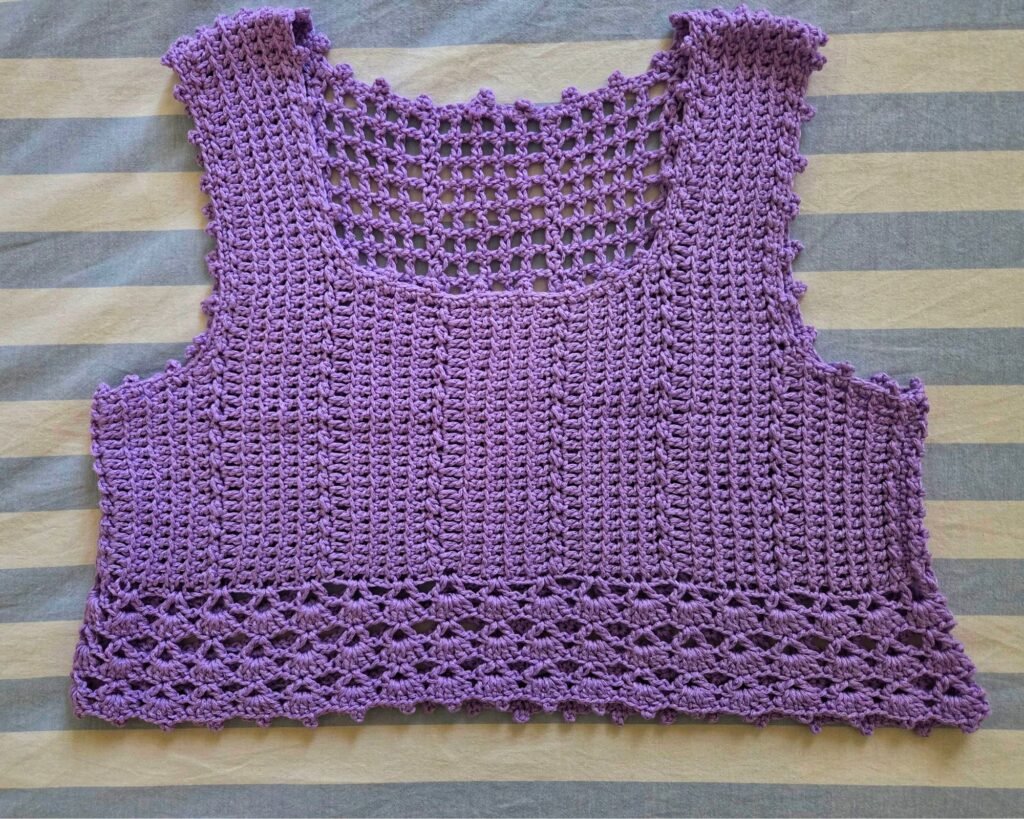
Il anteriore. is made with 5 rows of dc stitches worked at the same time (5R dc st). The return row is the same: ch1 *sl st - hdc* - sl st.
Make sure to start with an odd number of chains for each panel. Once both panels are done, join the shoulders and sides. Then add the bottom edging using shell stitch.
Related tutorials:
How to work multiple mesh stitches at once – click here
How to work multiple dc stitches at once – click here
Work 3 sc per round, and on the 4th sc make a 4ch picot.
Per l' last row of shell stitch, make the 4ch picot in the maglia centrale of the shell.
Crochet Abbreviations & Stitches
sl st – slip stitch
ch – chain
una riga di sc – single crochet
*– repeat
dc-double crochet
4ch picot
sk-skip
hdc– half double crochet
Detailed Instructions :
The top was made for a medium size, using 150g of medium-weight cotton yarn, worked with a 3.5–4 mm crochet hook.
Back panel.
Start with 19 chains Riga1: ch1 sl st – hdc – sl st R2: ch16, work 5R mesh stitch across the entire row for a total of 21 stitches. Continue by chaining 30 additional chains. R3: ch1 sl st – hdc – sl st for the entire length R4: ch16 – work 5R mesh stitch R5: ch1 sl st – hdc – sl st
At this point, we will work the necessary rows for the back neckline: R6: same as R2, finishing the row 6 stitches early to create the neck curve R7: R1 R8: R2 R9: R2 R10: R2, add 6 chains at the end R11: R1 R12: R2 R13: R1 R14: work for 19 stitches repeating R2 to create the back underarm area. R15: R1
✅ The back panel is ready. Now let’s make the anteriore.. For the front panel, start with the same number of chains. We will work 5 rows at the same time using double crochet (5R dc stitch) to get a solid panel.
Rows 6, 7, 8, 9, and 10 will be ended earlier to create a deeper neckline: • Row 6: finish 20 stitches before the end • At the end of row 10: add 20 chains to create the neckline
Continue with the remaining rows the same as the back panel, just working them in double crochet (5 rows at once). Join the two panels: shoulders and sides.
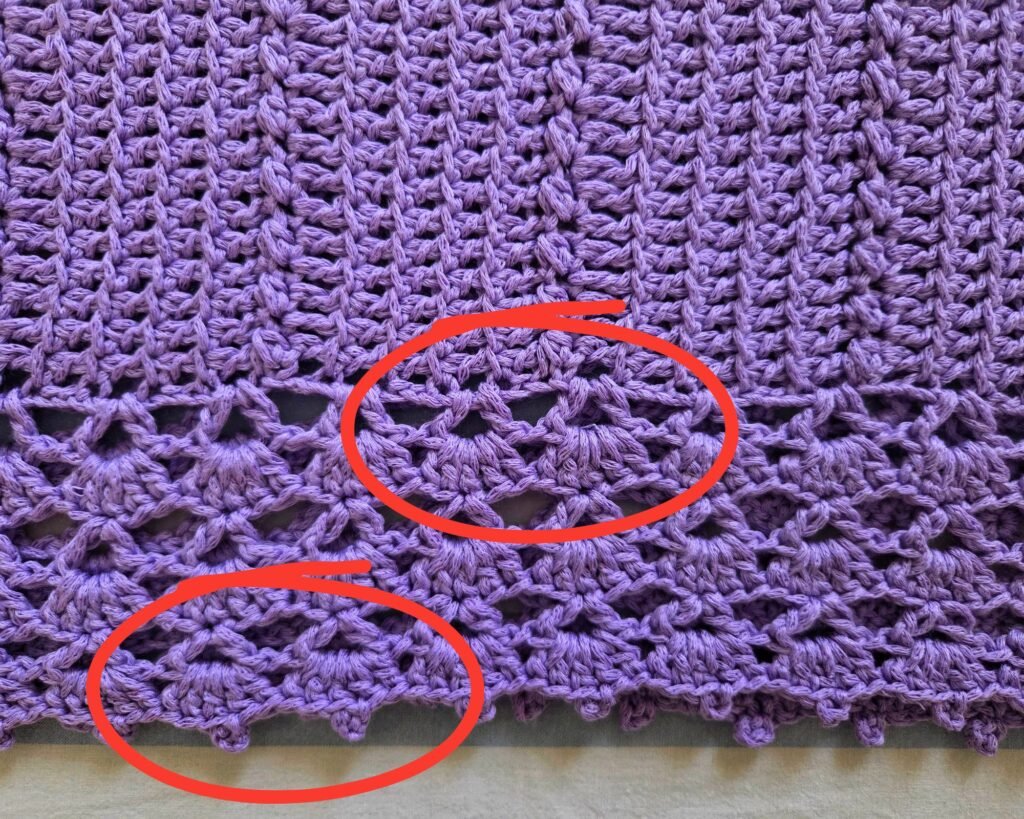
Bottom Border
We will work the bottom border following the shell stitch pattern. Decide how far apart the elements should be in the first round. Work the border for your desired length. In the final round of the shell stitch, make a 4ch picot in the central stitch.
Also finish the armholes and neckline by working 3 sc per round, and on the 4th sc make a 4ch picot.
Customize
Make your top longer by increasing the starting chain. Same goes for the shell border. If working multiple stitches together is tricky with a standard hook, try a Tunisian crochet hook.
For larger sizes, work 6, 7, 8 or more stitches together per row. Once you understand the concept, you’ll create lots of projects using this stitch!
I’ve given you the idea—now make it yours! Pick what inspires you and create your own one-of-a-kind piece.
“Let me know if you customize your top!I’d love to see your unique variation.”
If you tag me as your inspiration, I’ll be over the moon! Thank you for stopping by—I hope it was time well spent. Always remember to make space for creatività, enjoy the beauty of slowness, and live with a style that’s all your own. I’ll always be here for you— Your creative friend, Mary 🌸
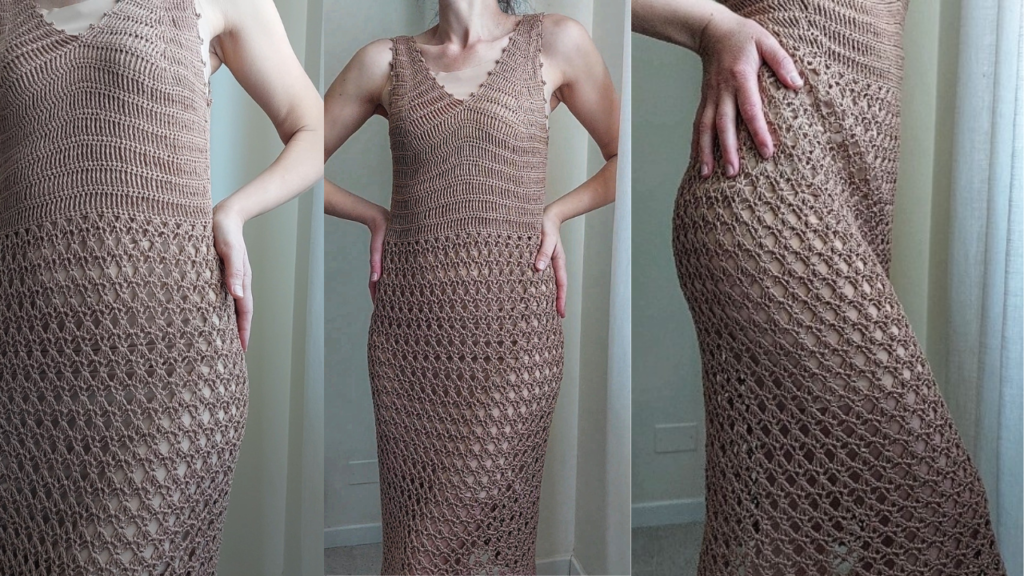
Loved making this top?
Don’t miss out on another beautiful project! 👉 Check out my Zahira Dress pattern — elegant, airy, and perfect for sunny days.
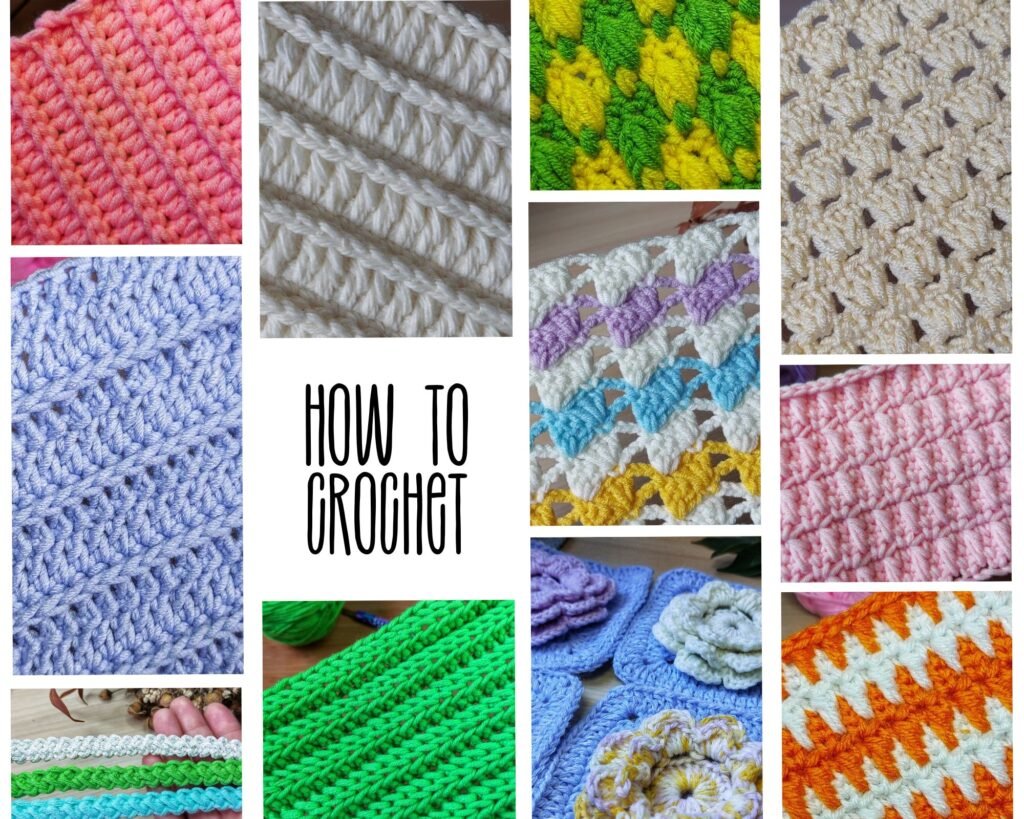
Looking to customize your top with unique crochet stitches?
You’ll find a curated list of beautiful stitch tutorials right here to inspire your own personalized creations. Each stitch includes step-by-step guidance so you can confidently add your own touch to any project!